Content Management
Learn how to manage campaigns content for placements
Medialister's сontent management lets you prepare, organize, and reuse content for your media placements. Instead of writing inside each order separately, you now have a dedicated Texts tab in every campaign where you and your team can draft content, manage its status, and attach it to one or more orders when ready.
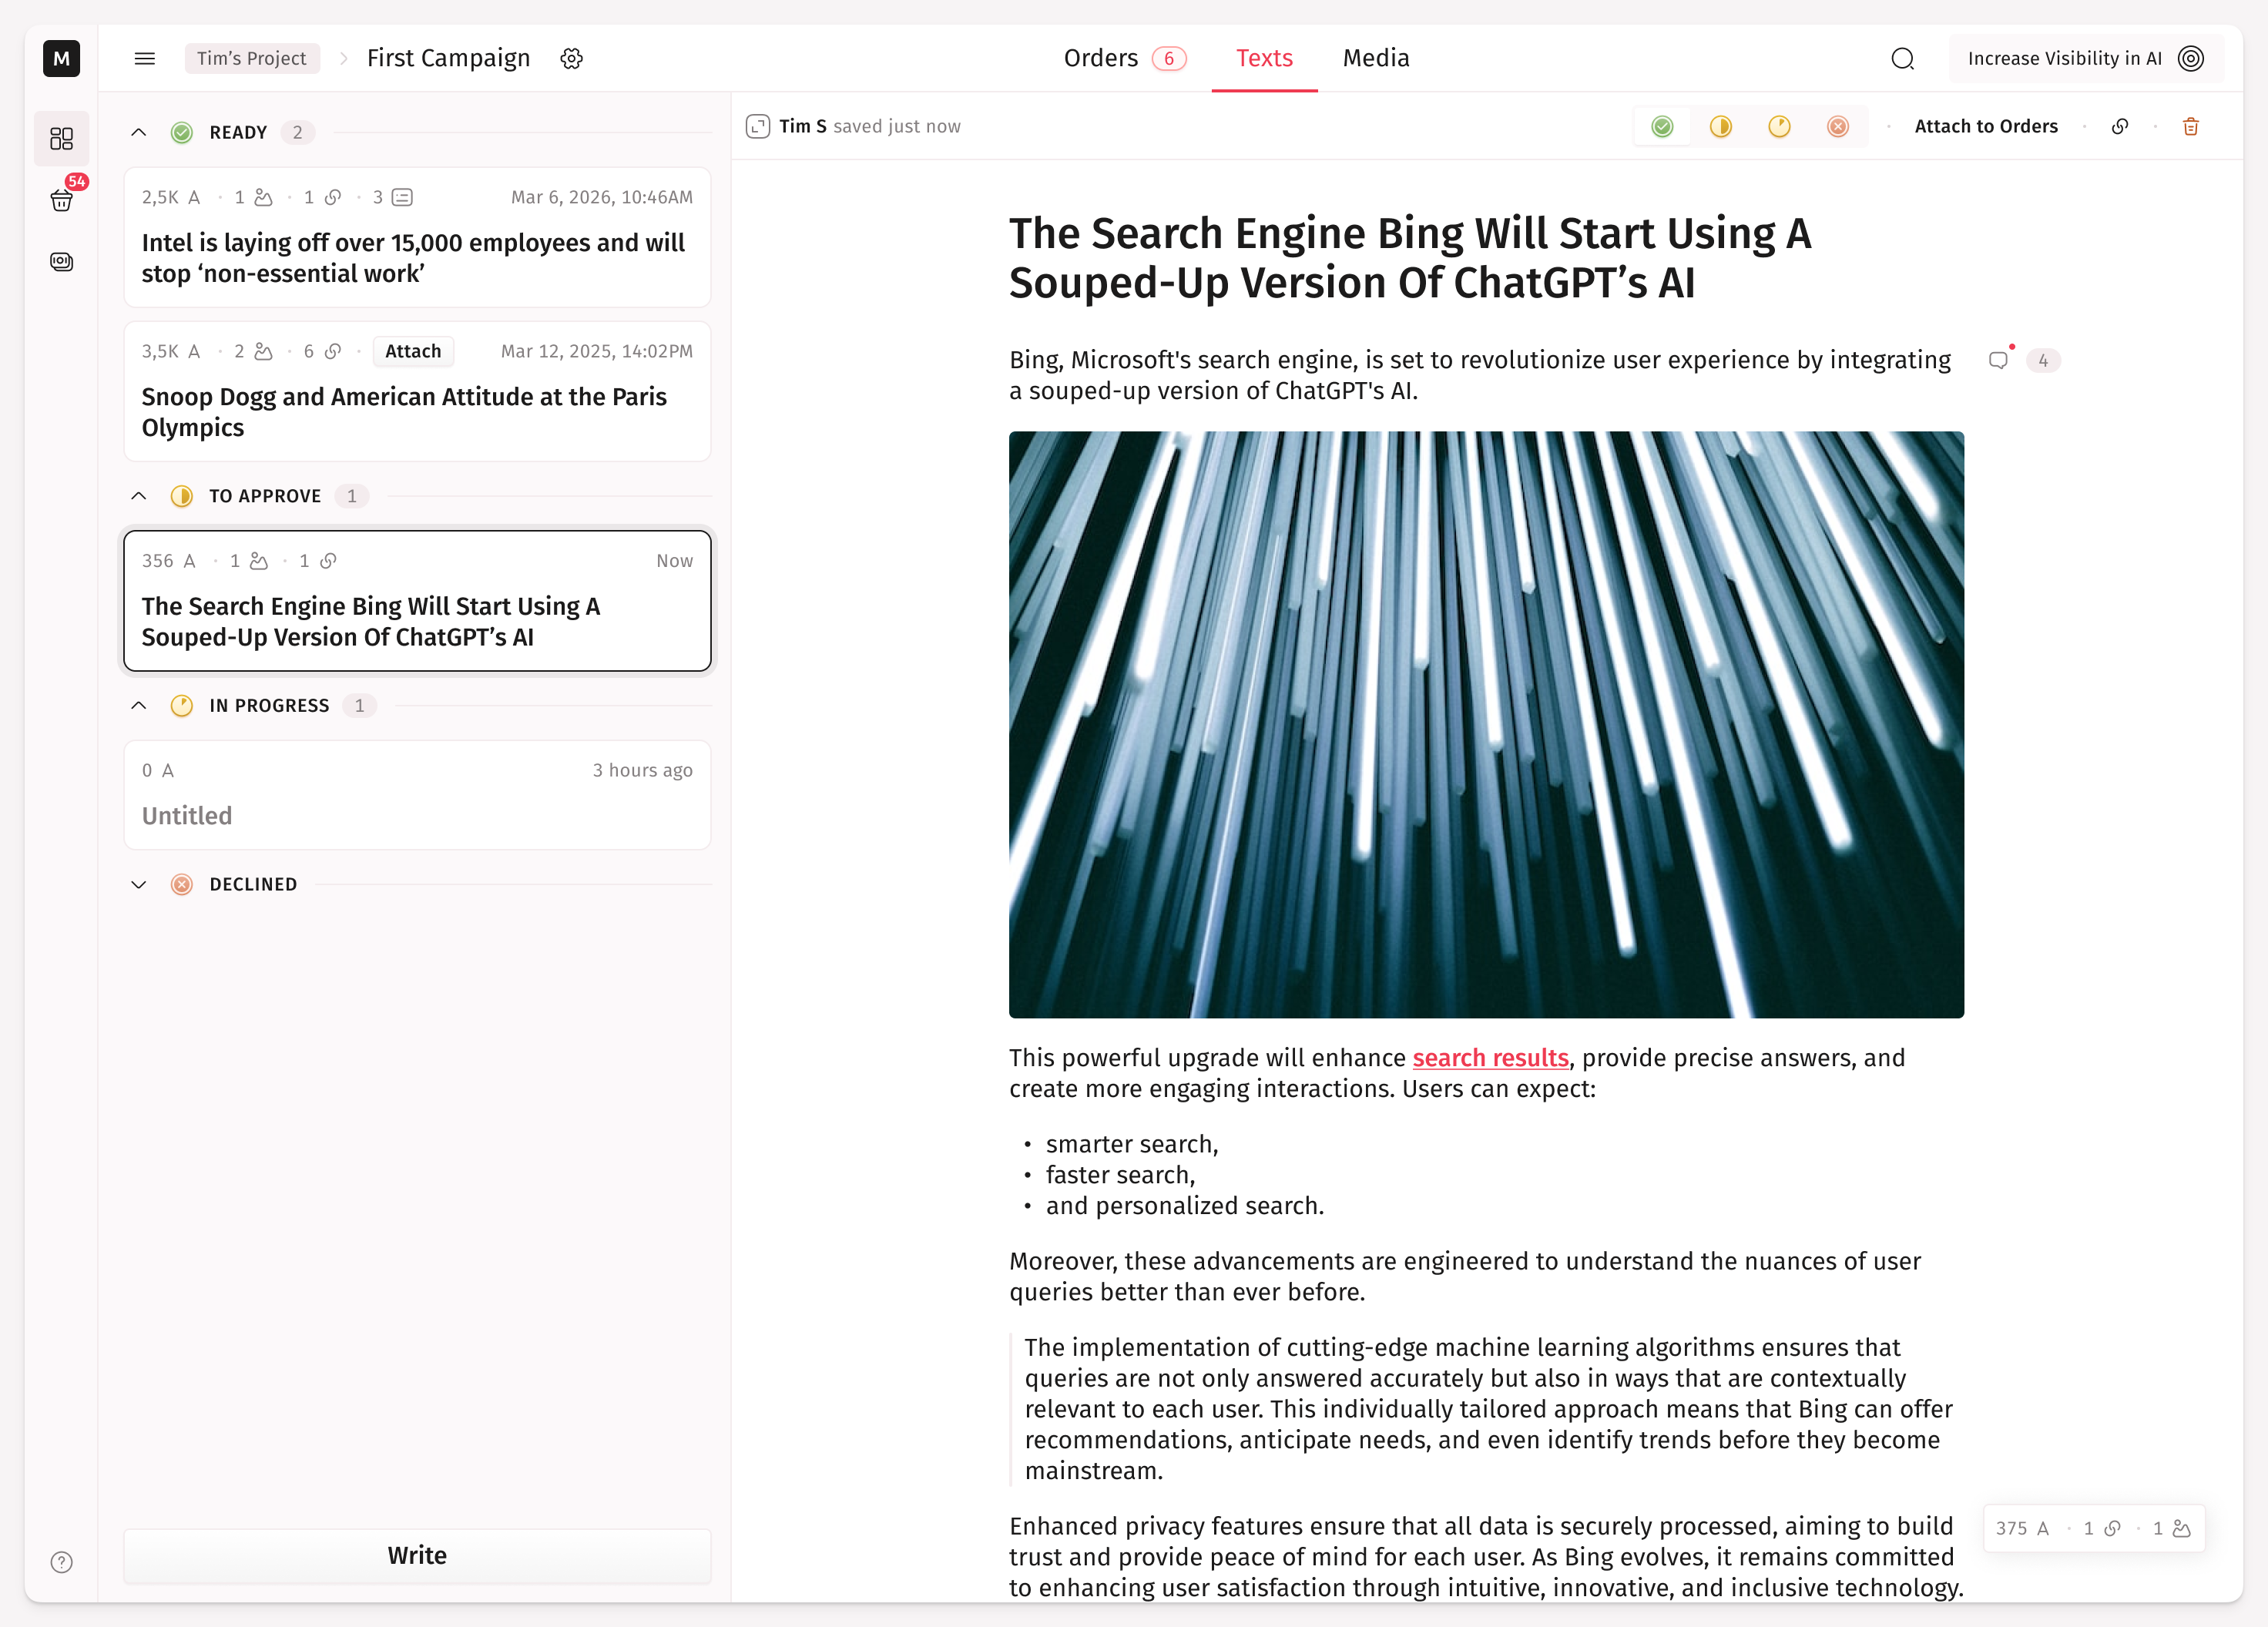
How to Access the Content Management
Inside any campaign, you'll see three tabs in the header: Orders, Texts, and Media. Click on the Texts tab to enter the content workspace.
The texts tab is available to all project members—admins, managers, editors, and viewers—though editing permissions differ by role.
How the Texts Workspace Is Structured
The workspace is split into two panels. On the left is your text list—a sidebar showing all texts in the current campaign. On the right is the text editor, where you write and format your content.
Your texts are grouped into four collapsible sections by status, each with a counter showing how many texts are inside.
Each text card in the list shows the title (or "Untitled" if none), a character count, the number of images and links, how many orders the text is attached to, and the last modified date. Click any card to load it in the editor.
How to Create a New Text
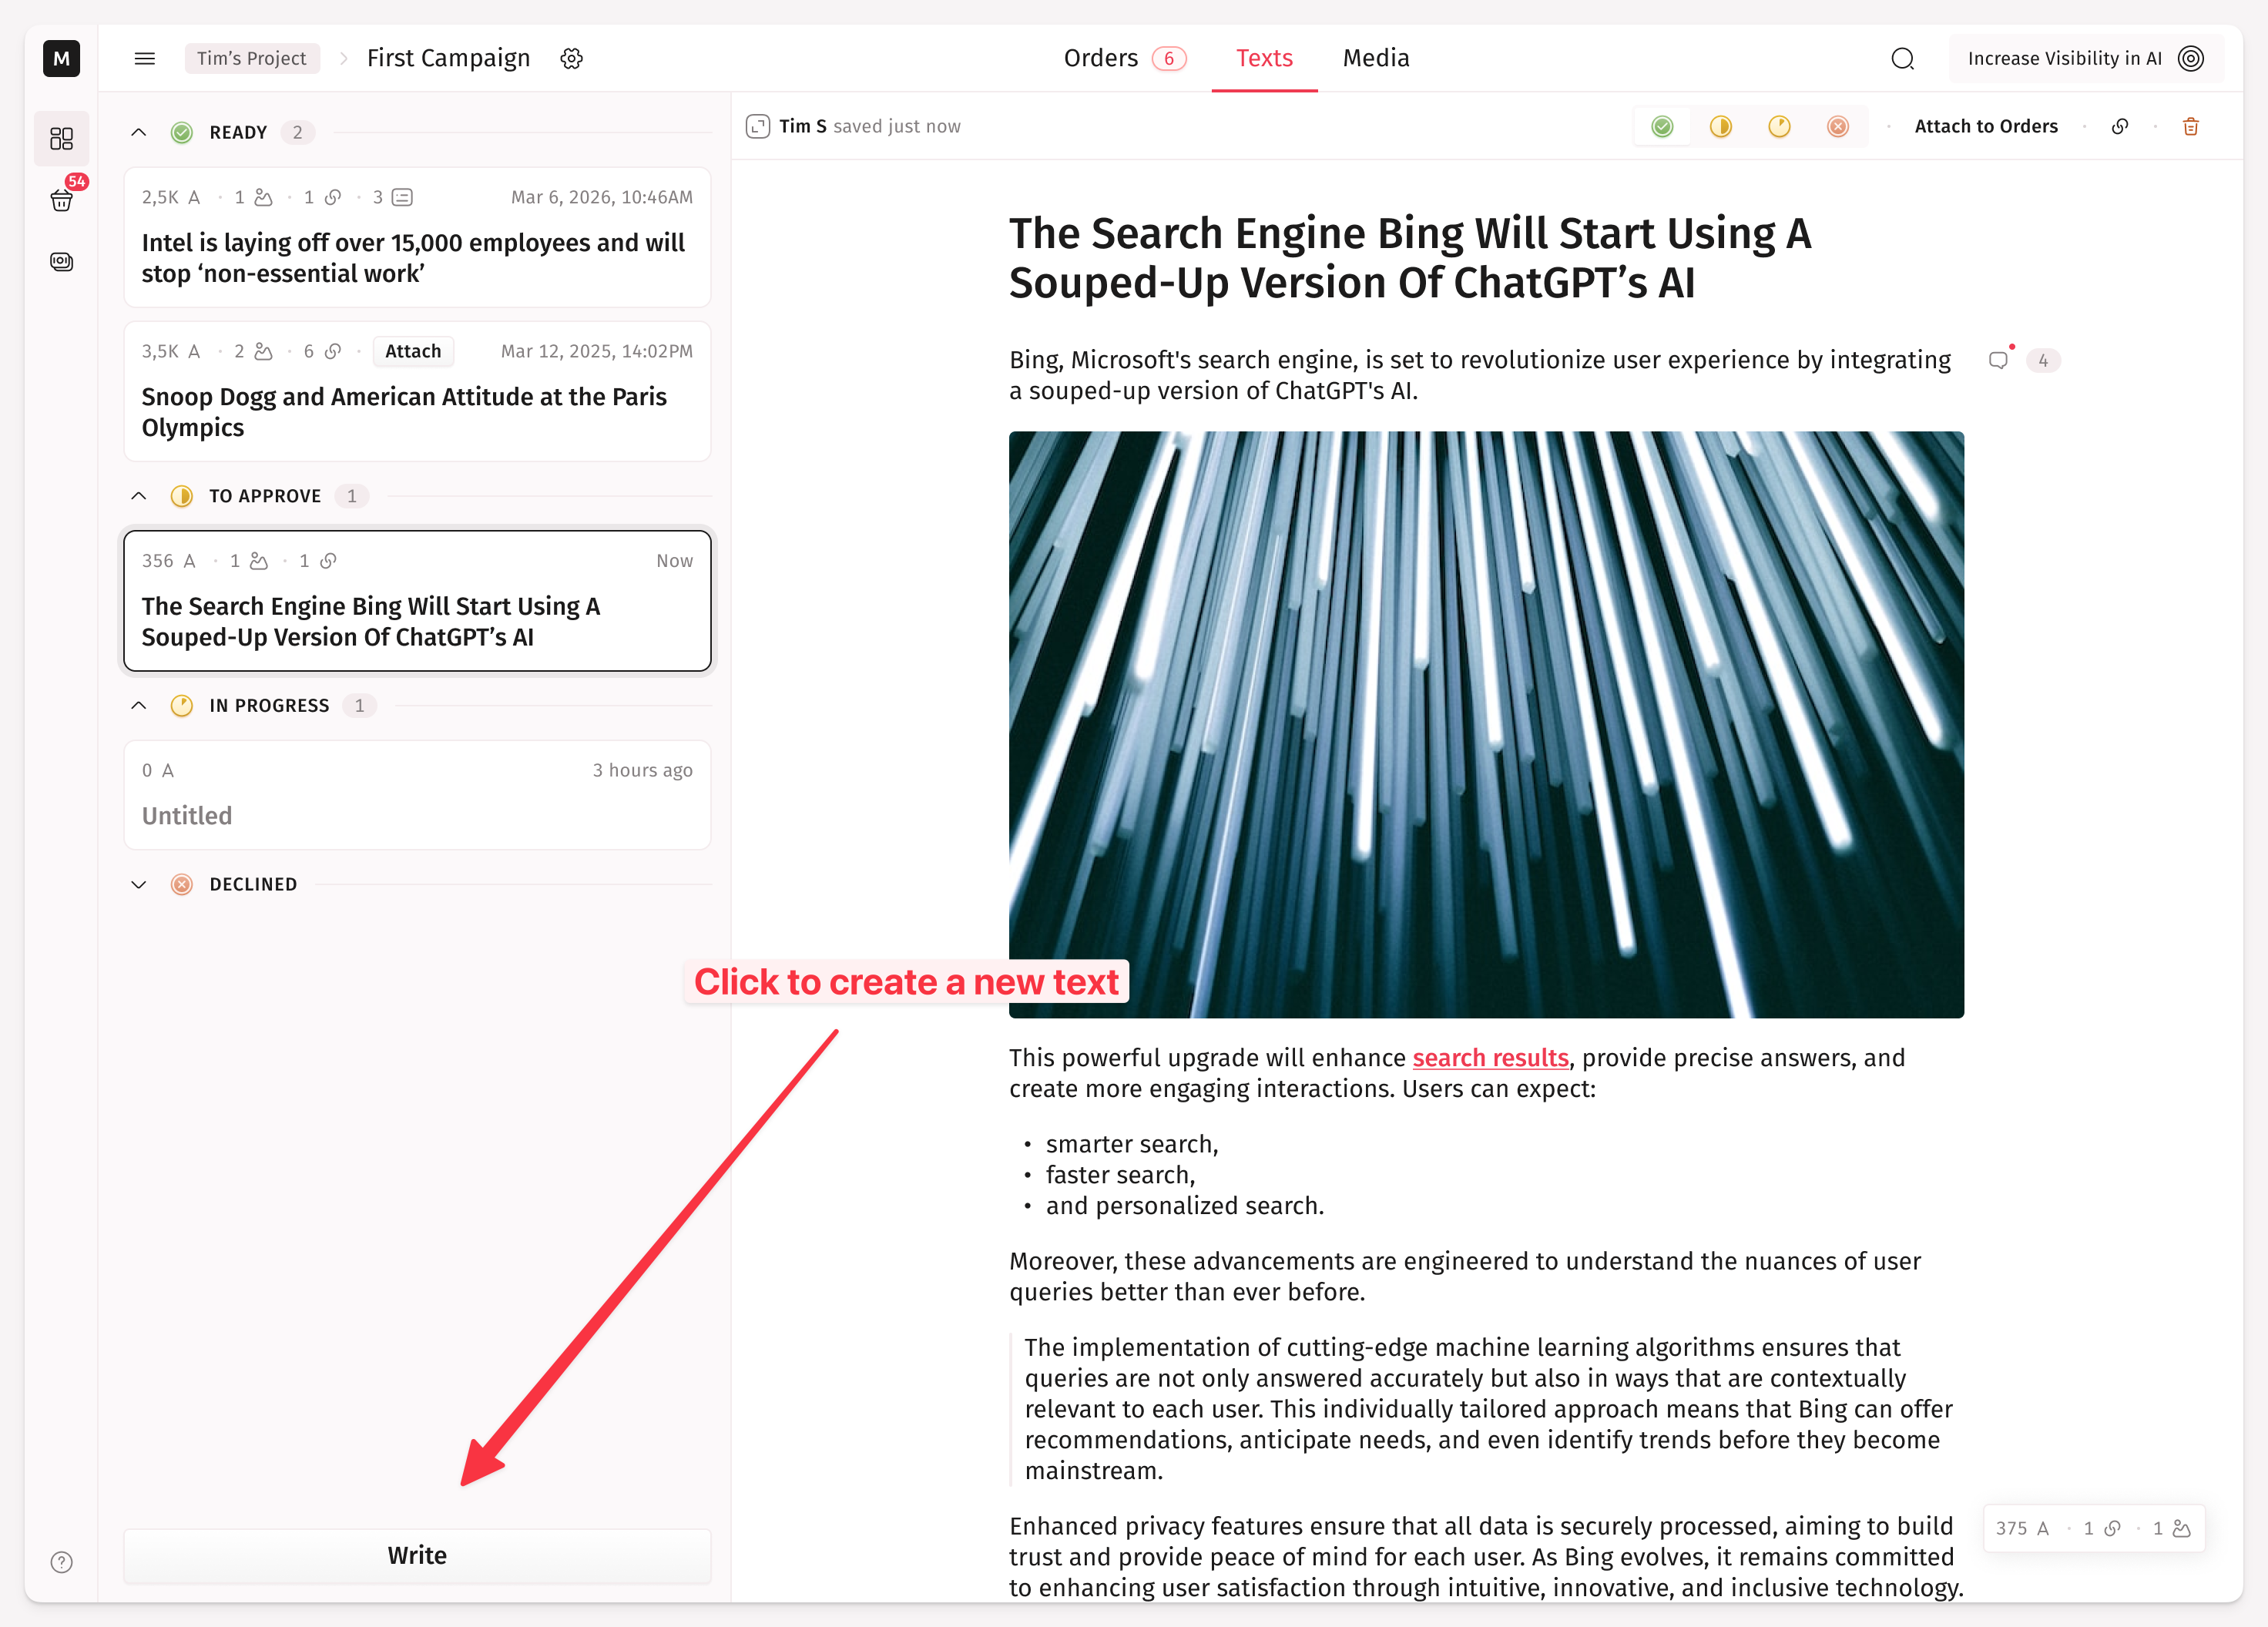
Click the Write button at the bottom of the left panel to create a new blank text. If your campaign has no texts yet, a blank one is created for you automatically the first time you visit the tab.
How to Delete a Text
To delete a text, select it and click the trash icon in the editor toolbar. Once deleted, the text is gone permanently.
How the Text Editor Works
The editor uses the same rich-text experience you may already know from the order content editor. It has two main fields: a title at the top and the body below it.
How to Save a Text
There is no "Save" button. Everything auto-saves after you stop typing. The editor header shows who last modified the text and when the last save occurred—something like "Saved just now" or "Saved 5 minutes ago".
What Format Options Are Available
The editor supports the following formatting, all accessible via keyboard shortcuts or the floating toolbar that appears when you select text:
Headings—H1, H2, H3 for structuring your content.
Inline formatting—Bold (Cmd/Ctrl+B), Italic (Cmd/Ctrl+I), Underline (Cmd/Ctrl+U), and Strikethrough (Cmd/Ctrl+S).
Lists—Bullet (Cmd/Ctrl+L), Numbered (Cmd/Ctrl+Shift+L), and Alphabetic (Cmd/Ctrl+Alt+L) lists, with up to 3 levels of nesting.
Links—Add hyperlinks with Cmd/Ctrl+K. When adding a link, you can choose the link type: Dofollow, Nofollow, or Sponsored.
Quotes—Block quotes with Cmd/Ctrl+>.
Images—Supported formats are JPG, JPEG, PNG, HEIC, and SVG, up to 5 MB per file. You can also resize images by adjusting width and height.
You can also use Undo (Cmd/Ctrl+Z) and Redo (Cmd/Ctrl+Shift+Z) at any time, and copy-paste from Google Docs, Notion, or Markdown editors with formatting preserved.
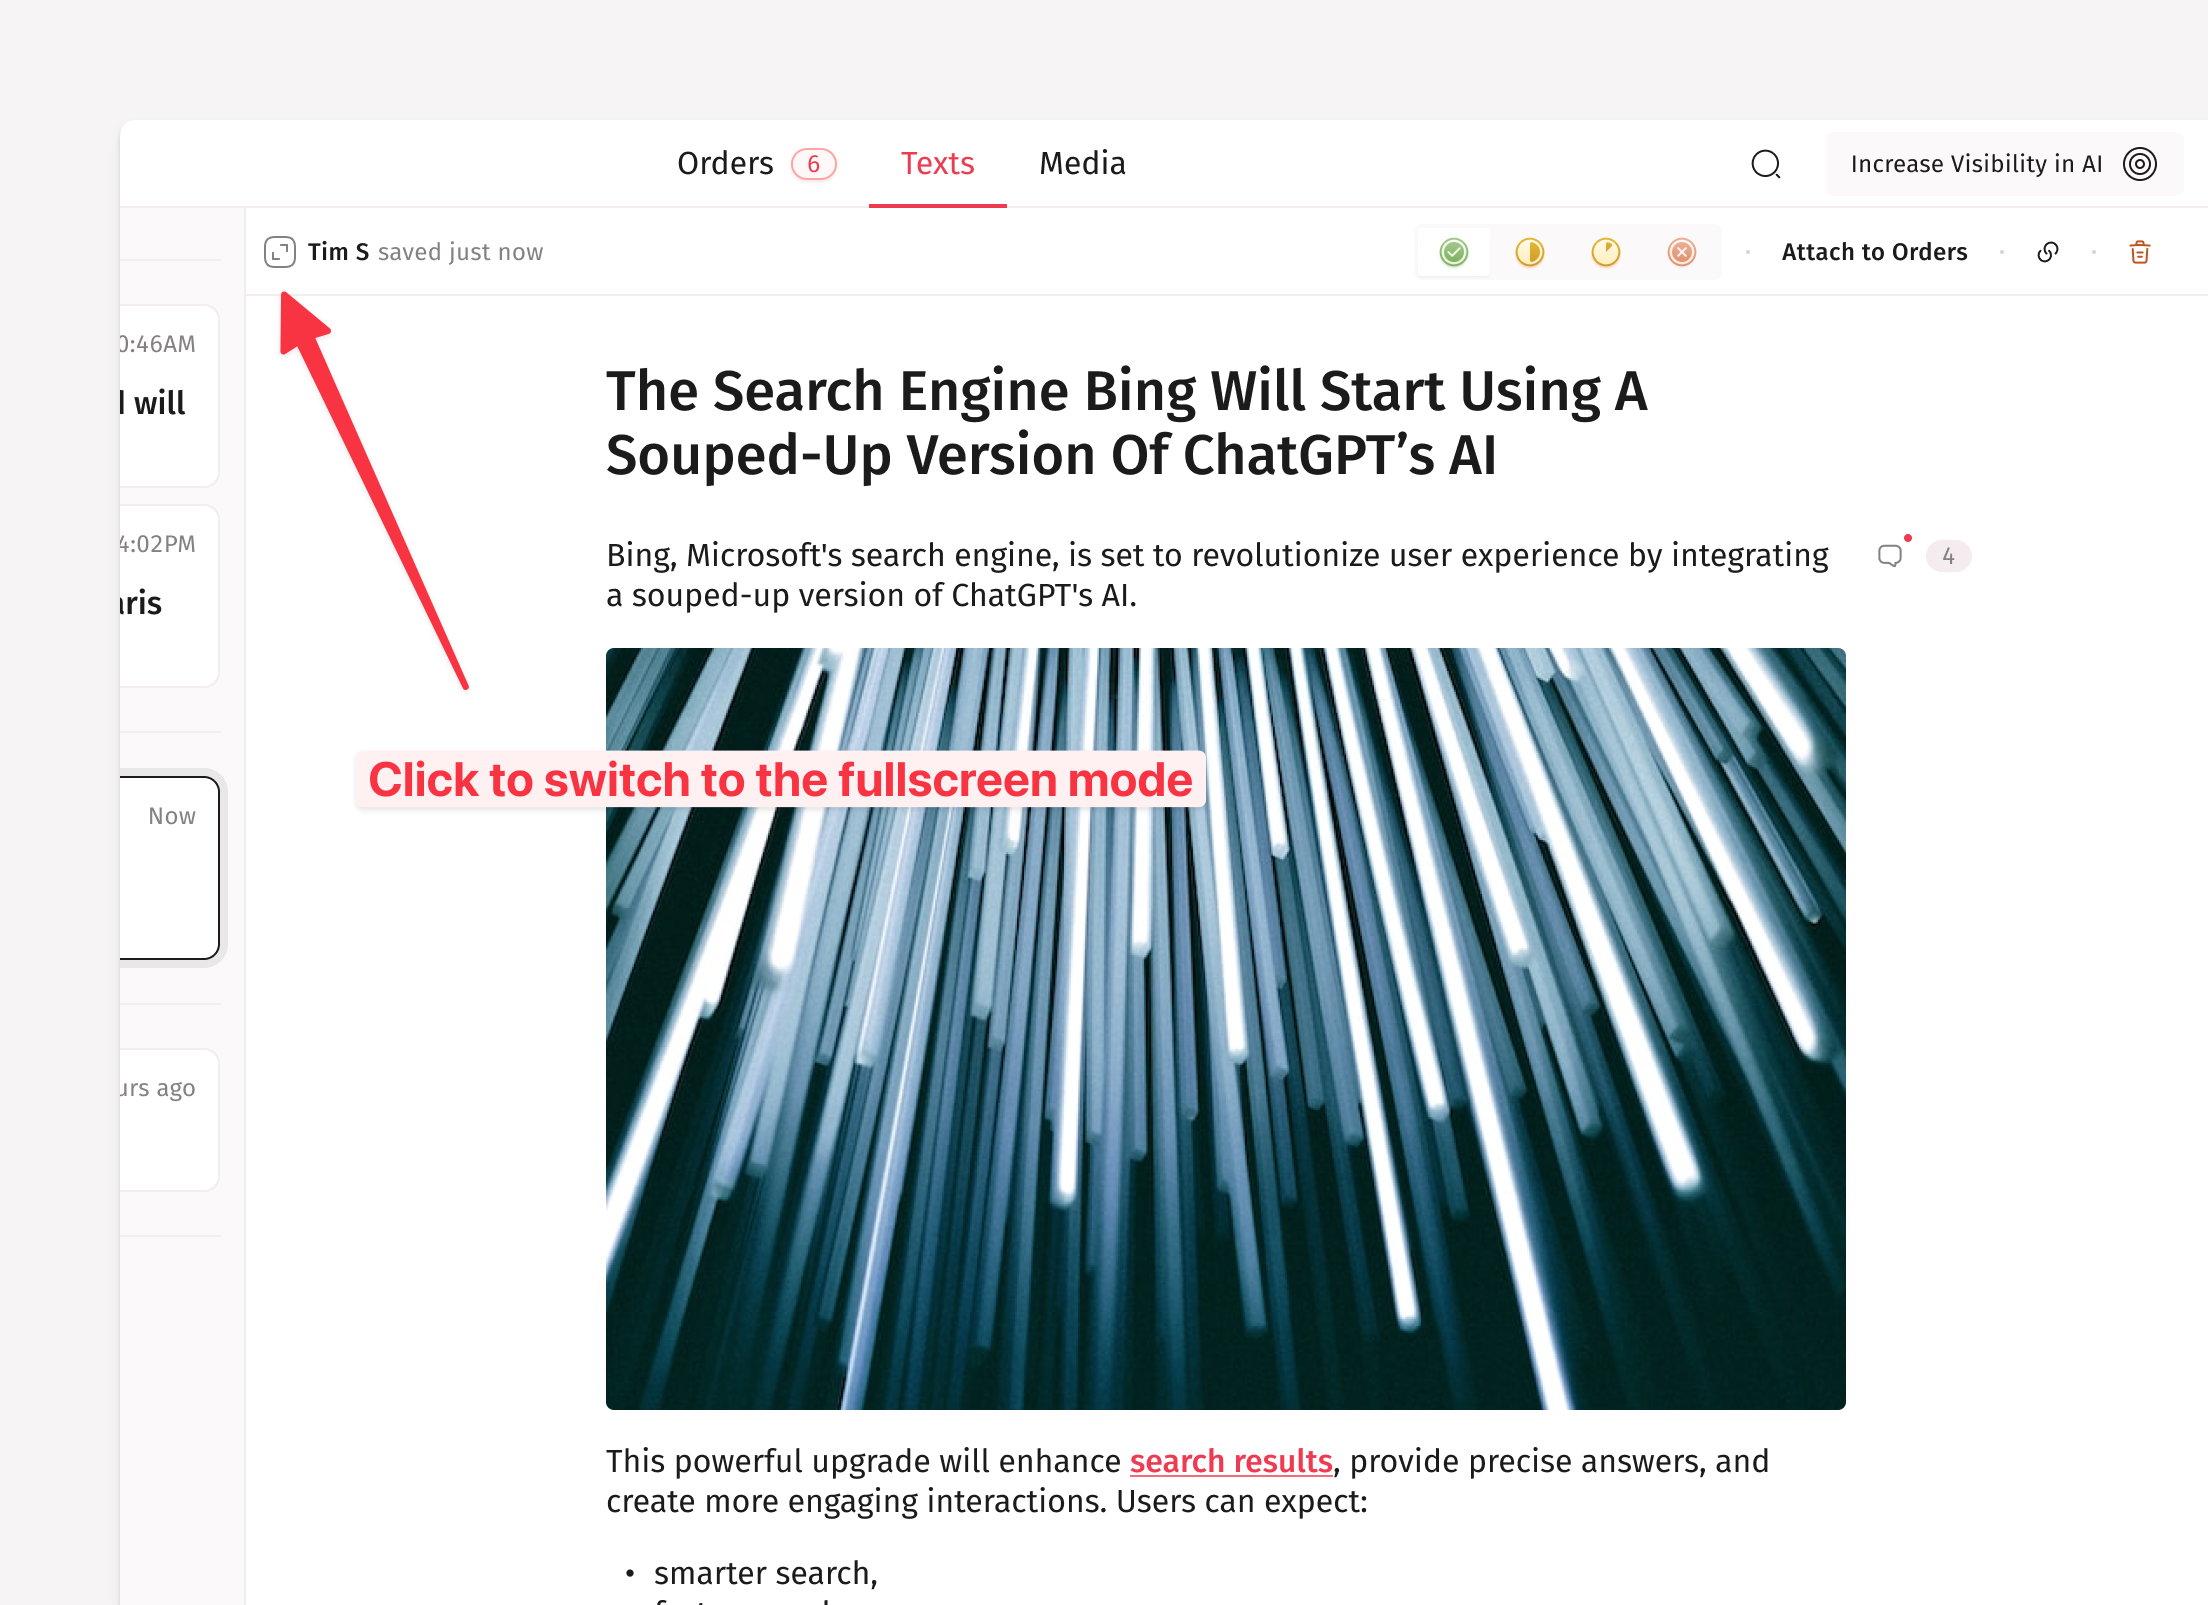
How to Switch to the Fullscreen Mode
For a distraction-free writing experience, click the fullscreen toggle in the editor toolbar. Press Escape or click the toggle again to exit.
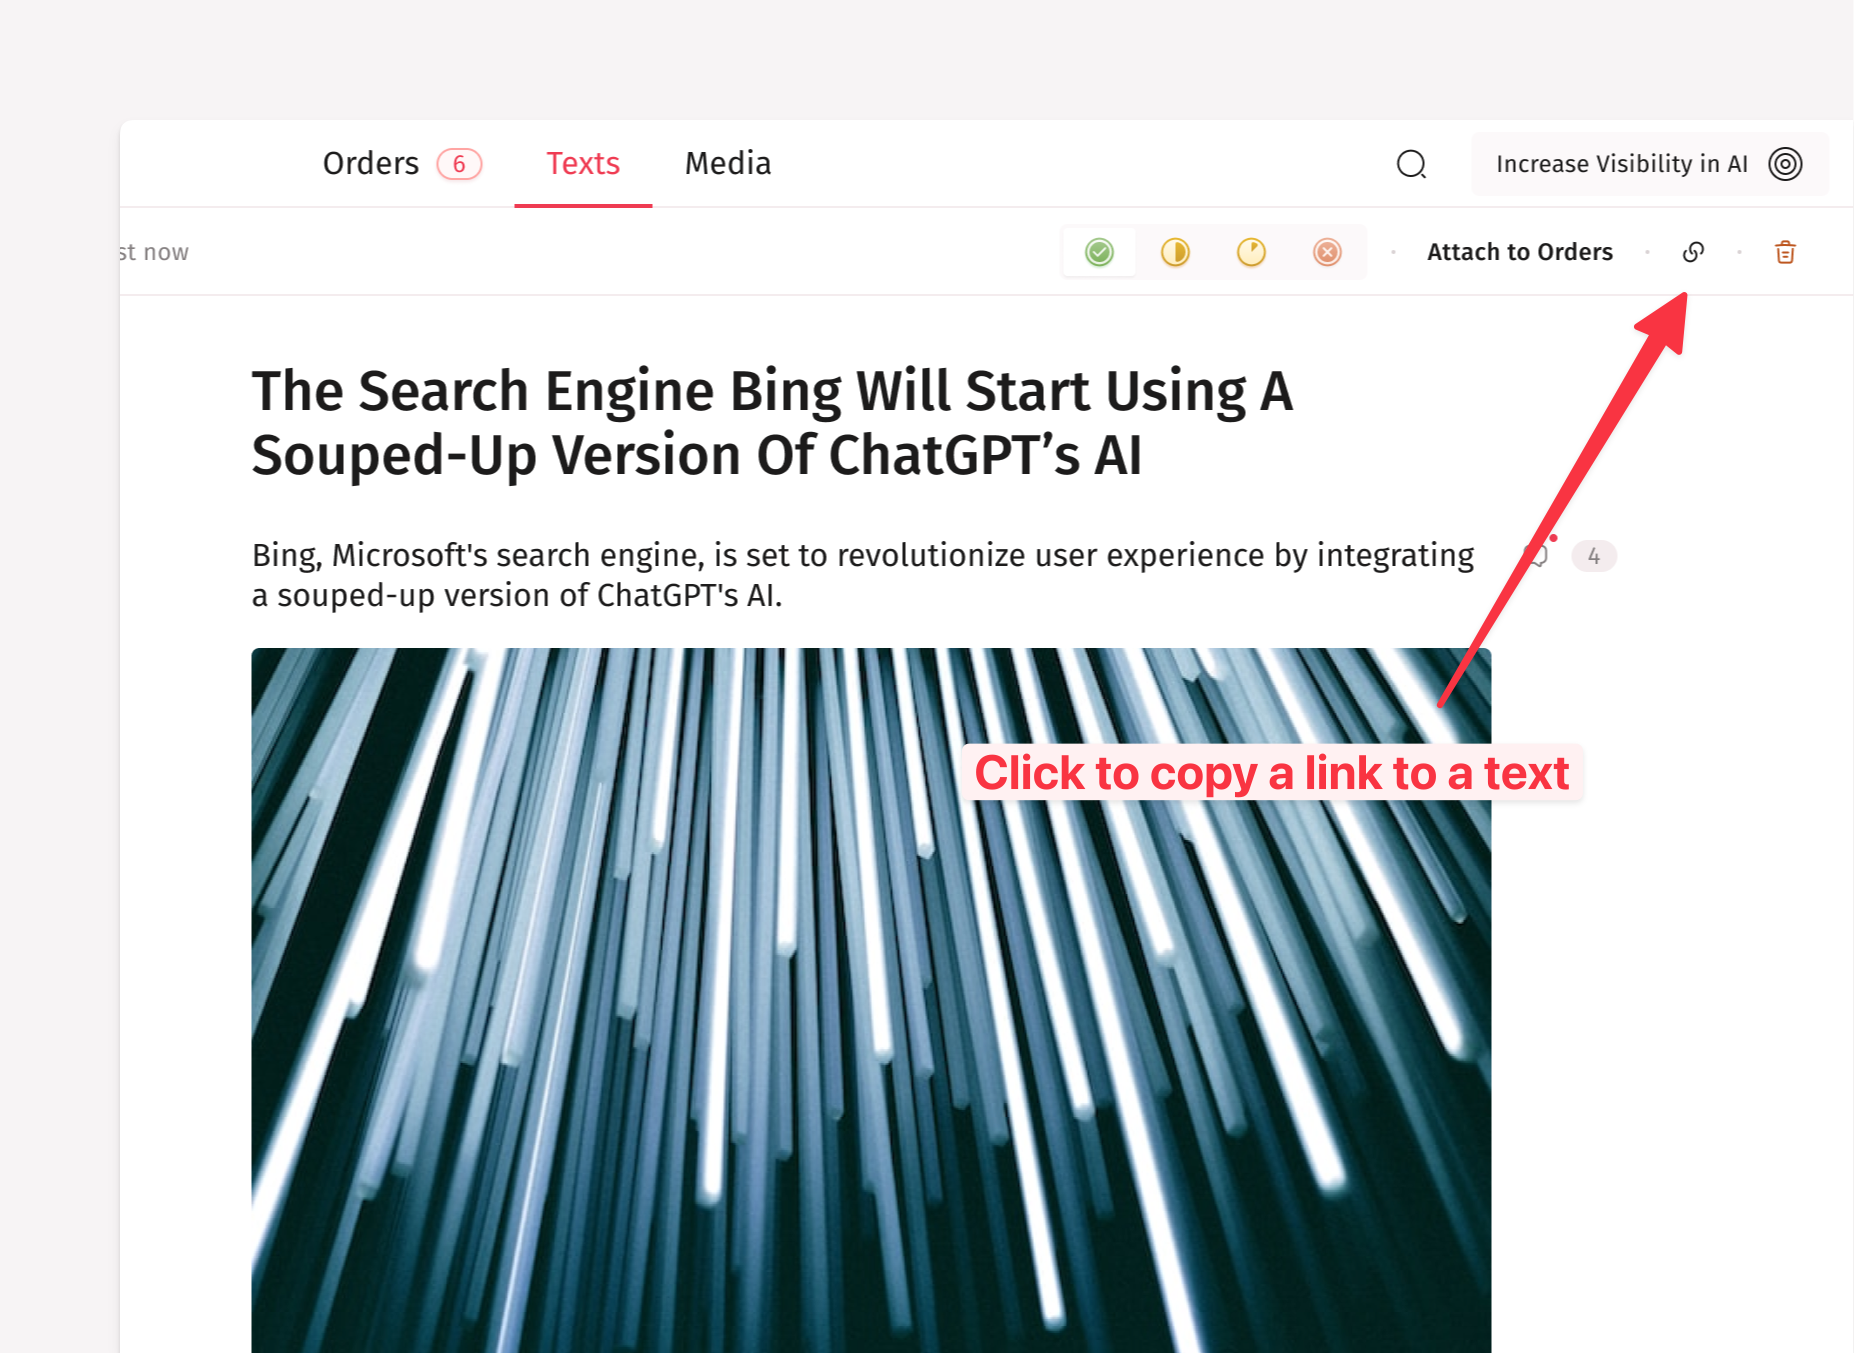
How to Share a Text
Click the link icon in the editor toolbar to copy a shareable URL to the currently selected text. Anyone with access to the campaign can use this link to jump directly to it.
What Are Text Statuses
Every text has one of four statuses. You can change the status using the colored status buttons at the top of the editor area. Simply click the status you want to apply—the change saves automatically and the text moves to the corresponding section in the list.
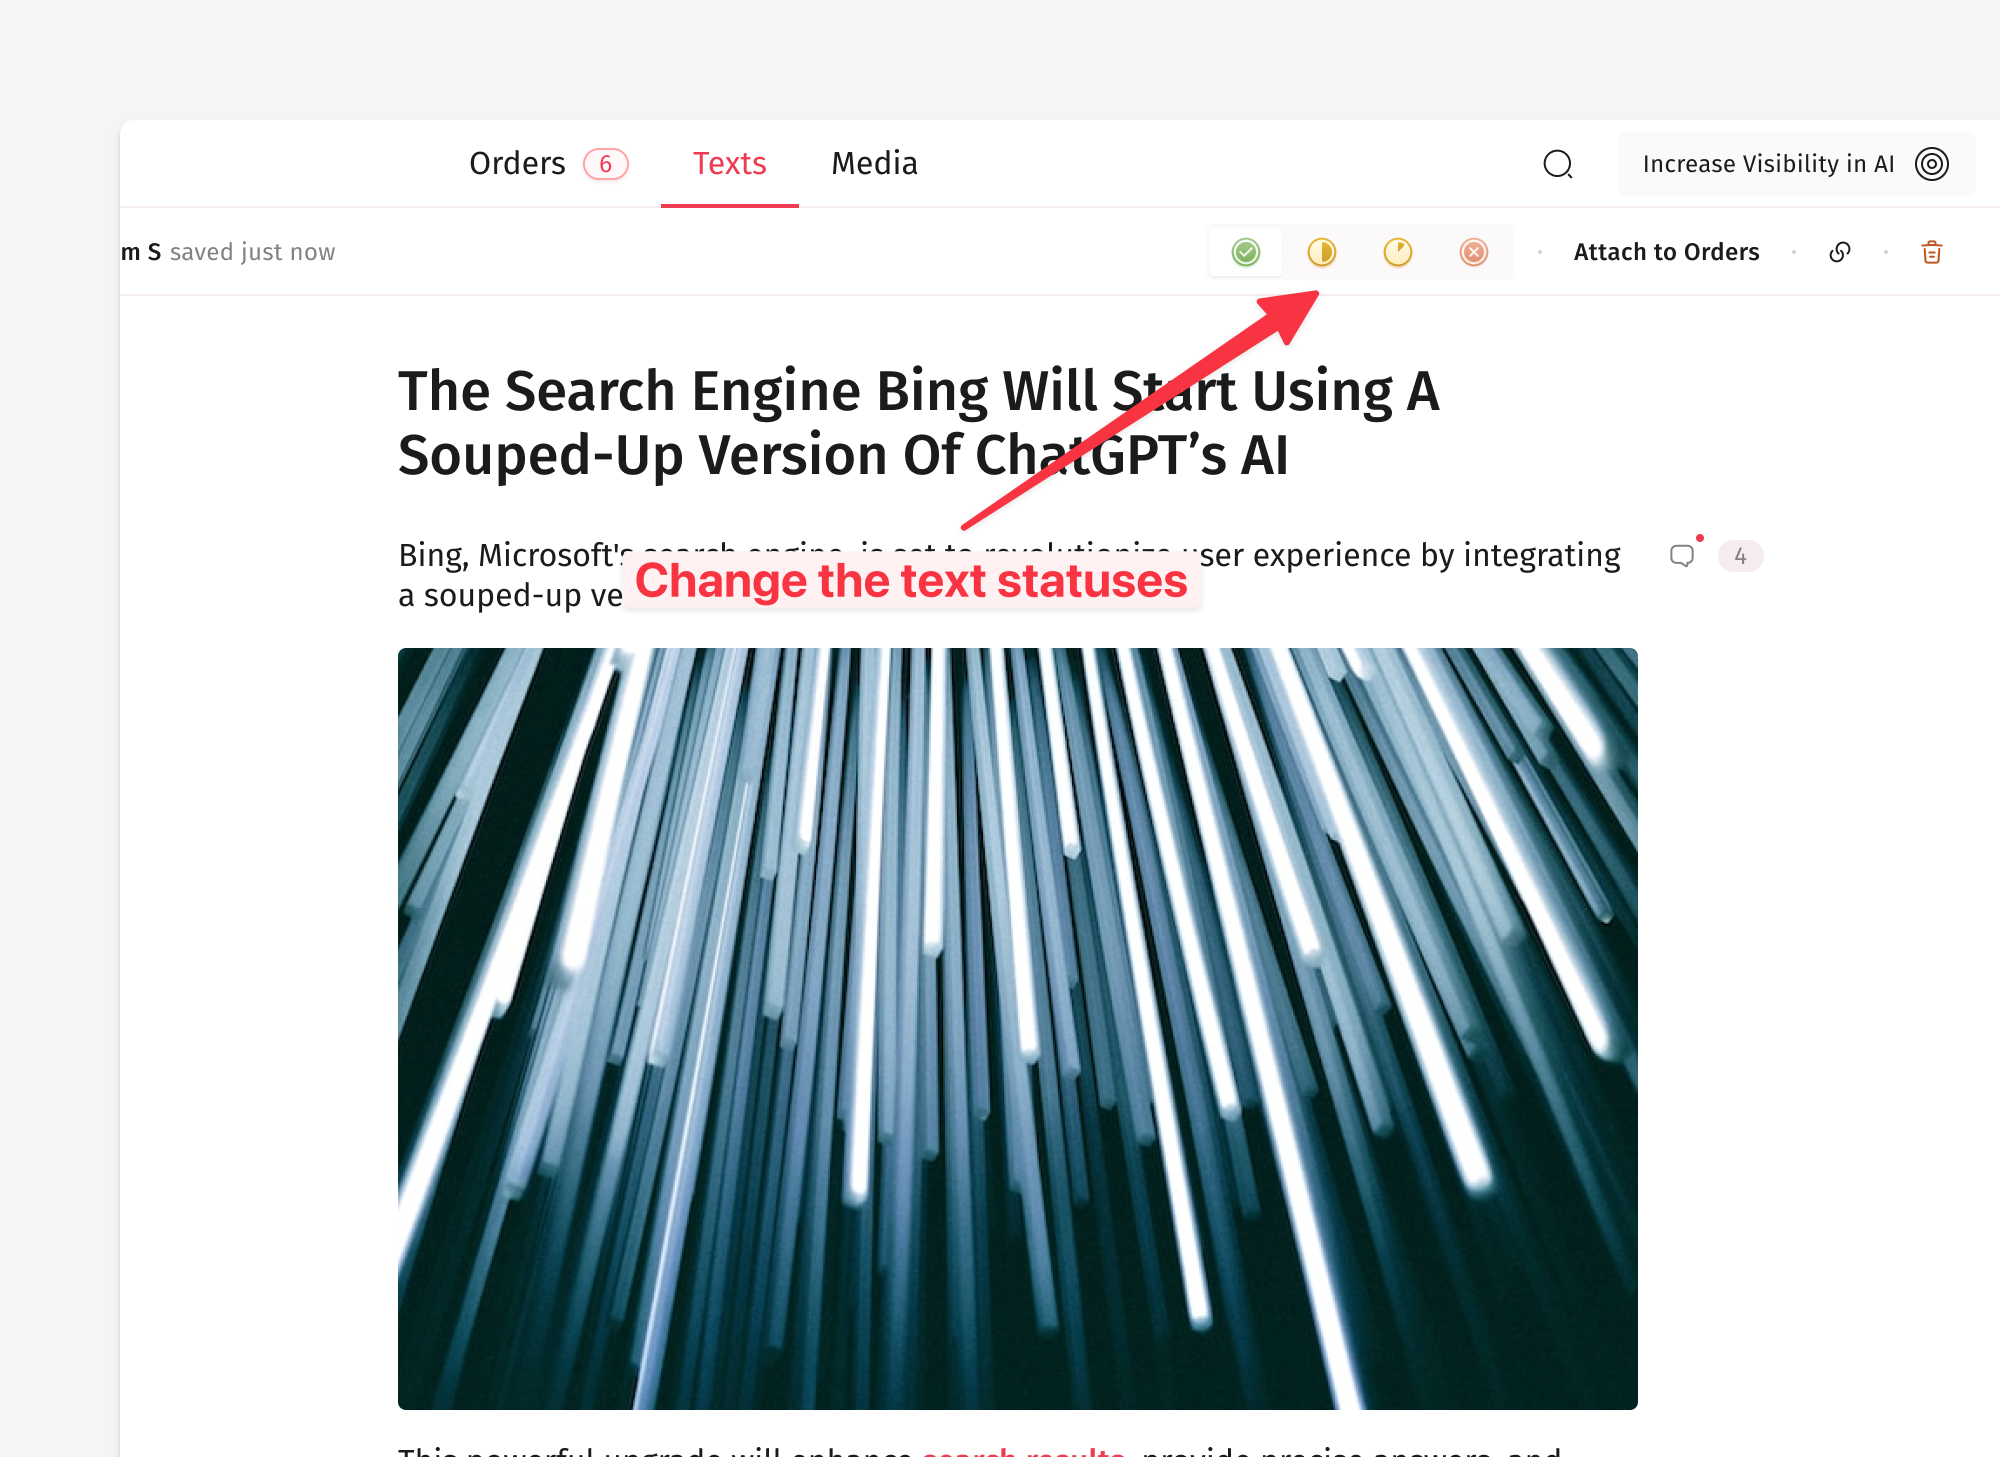
IN PROGRESS—The default status for new texts. Use this while you're still drafting.
TO APPROVE—Set this when the text is ready for a teammate or manager to review.
READY—Marks the content as finalized. Only texts with the "Ready" status can be attached to orders.
DECLINED—Used when a reviewer determines the content needs changes.
This status workflow is flexible—there's no enforced sequence. You can move a text between any statuses at any time.
How to Use Texts in Orders
There are two ways to connect a text to an order: from the texts tab (bulk attach) and from a particular order (quick attach).
Method 1: Attach from the Texts Tab
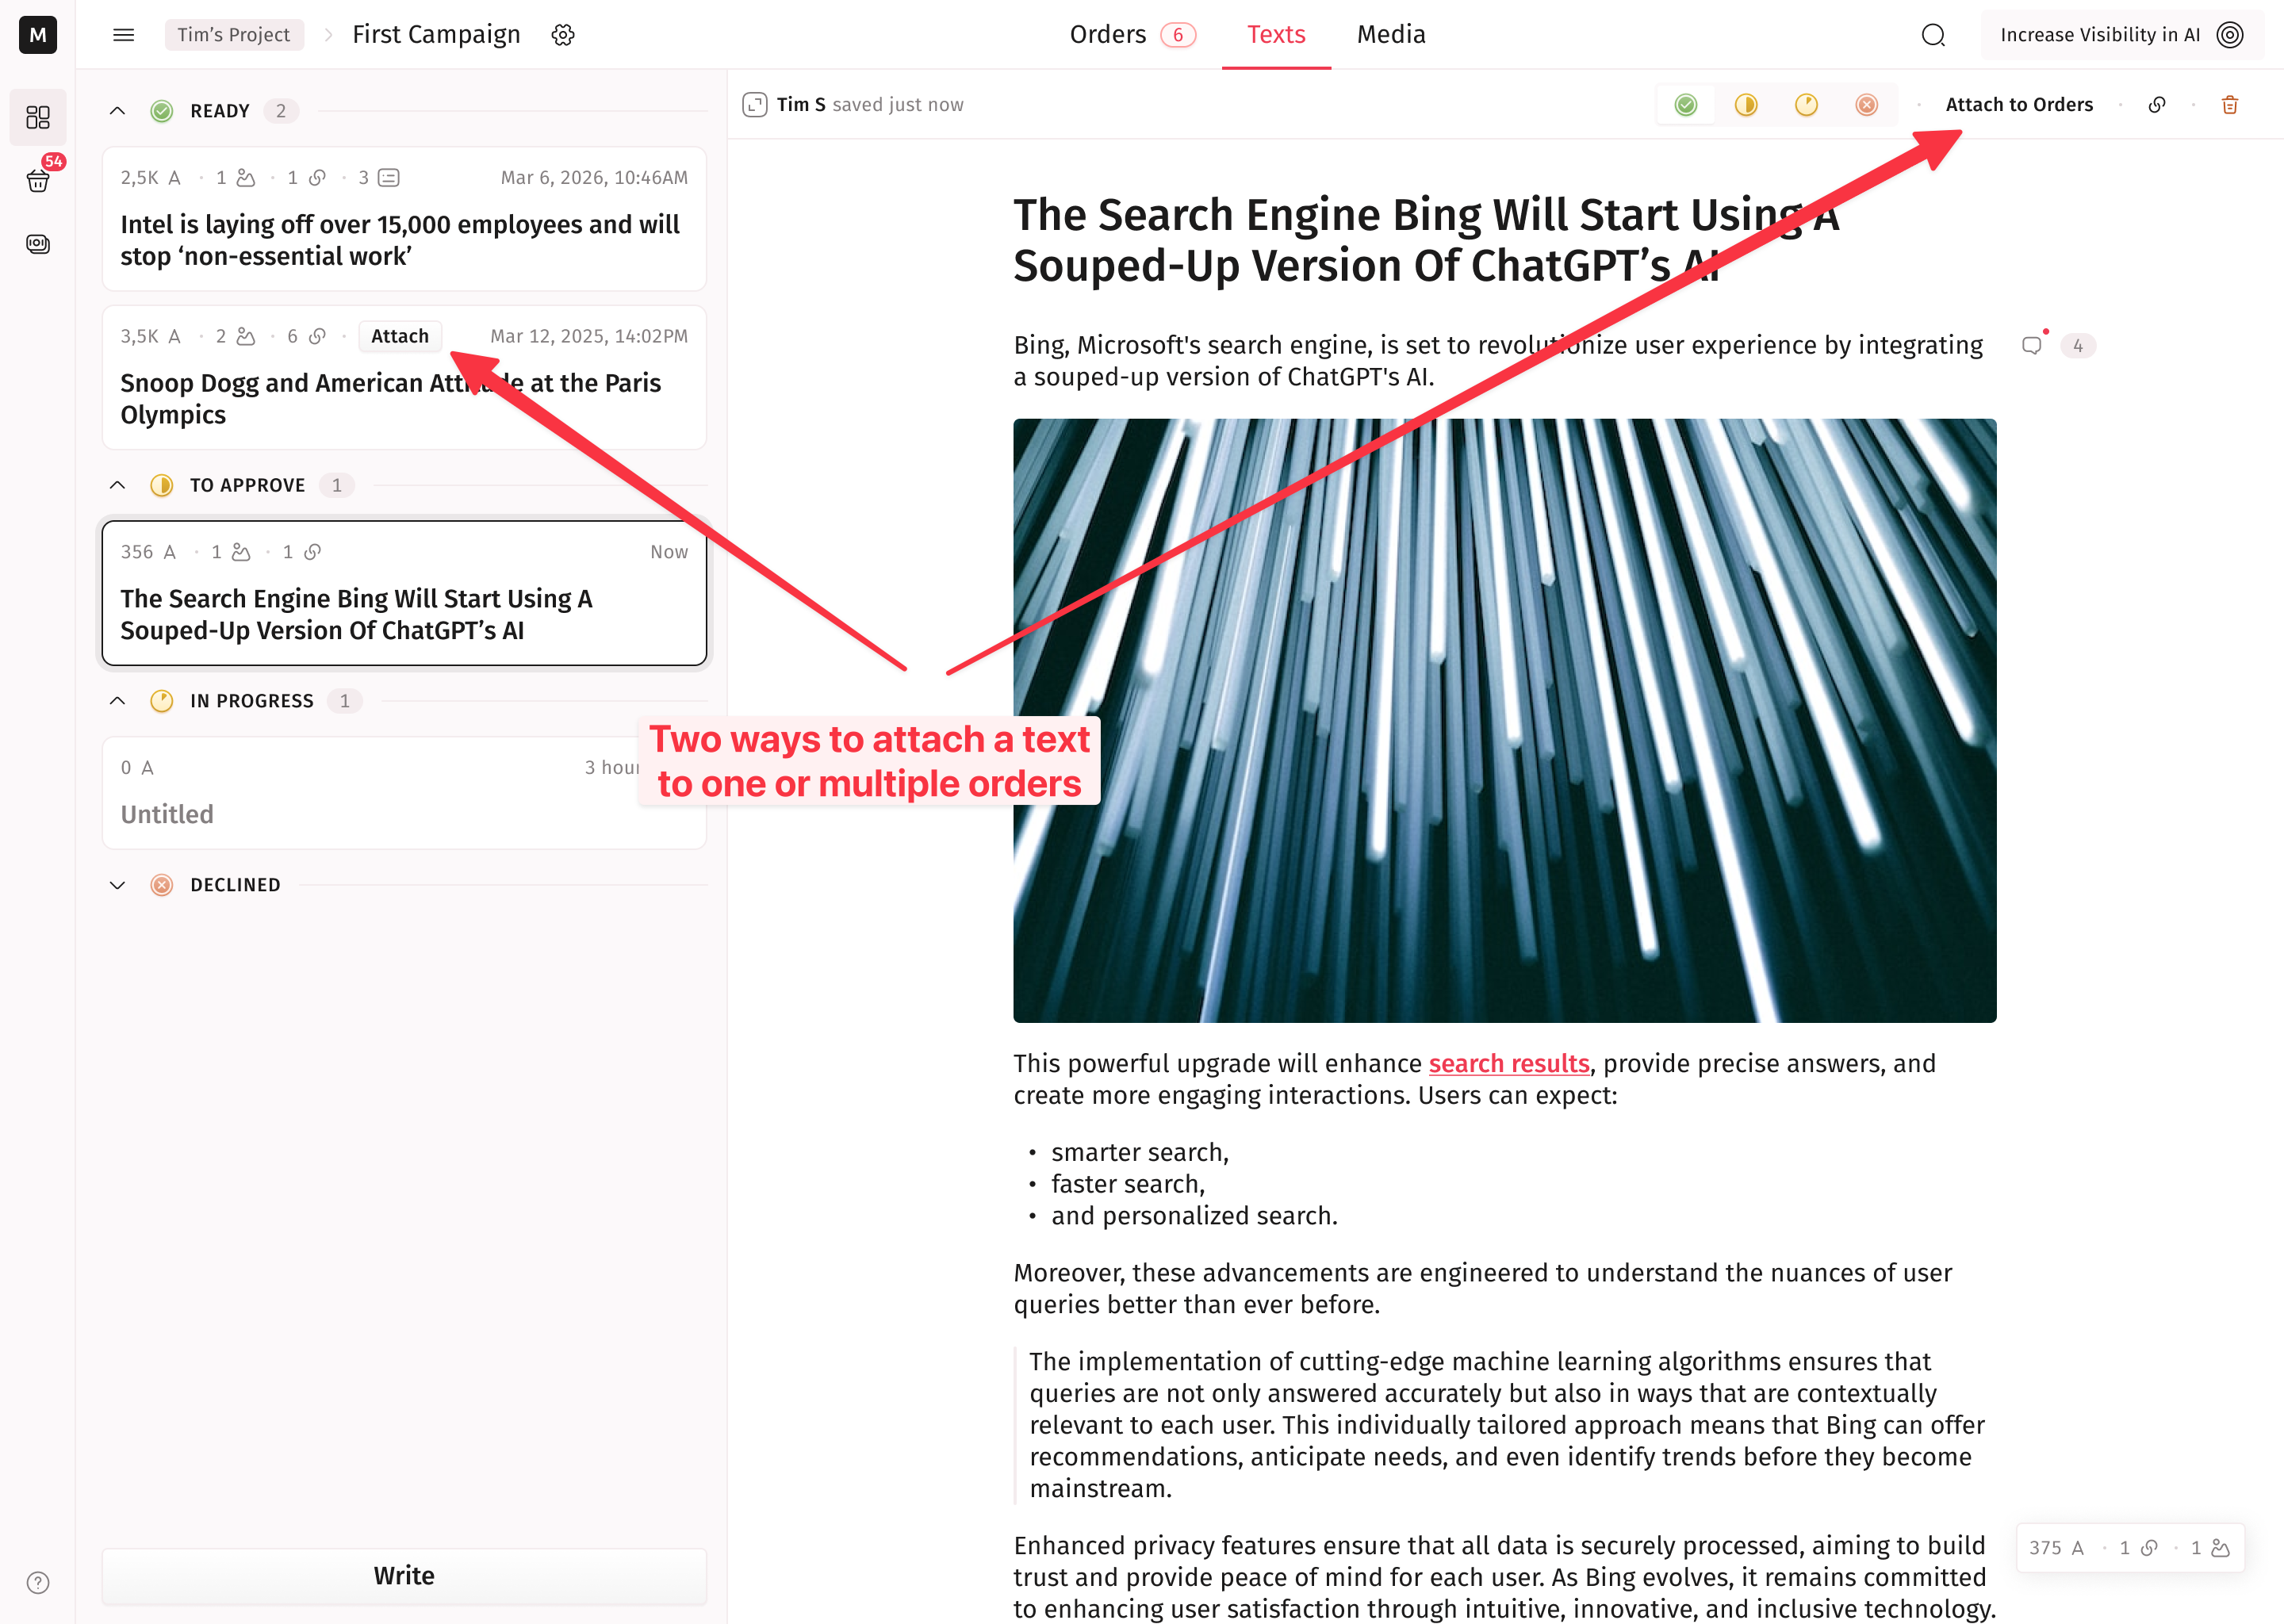
Select a text with the READY status, then click the Attach to Orders button in the toolbar. This opens the orders modal.
The modal shows all orders in the current campaign, grouped by their status: TO PUBLISH, IN REVIEW, TO MAKE CHANGES, ARTICLES TO APPROVE, and PUBLISHED. Each group has a counter showing how many orders do have the text attached already.
Only orders in the TO PUBLISH status (booked but not yet sent for review) have active checkboxes—you can select or deselect them to attach or detach a text. Orders in other statuses are displayed for reference but cannot be changed.
If an order already has content and you select it, you’ll see a tooltip: “Current content in this order will be replaced,” and the text title will be struck through. If a text is already attached to an order and you've since edited it, a refresh icon appears to apply a new revision if needed.
Use the search bar at the top of the modal to find specific orders. When you're done selecting, click the Change N Orders button at the bottom to apply.
For texts in the READY status that haven't been attached to any orders yet, you'll also see a shortcut Attach button directly on the text card in the sidebar—clicking it opens the same modal.
Method 2: Quick Attach from the Orders Tab
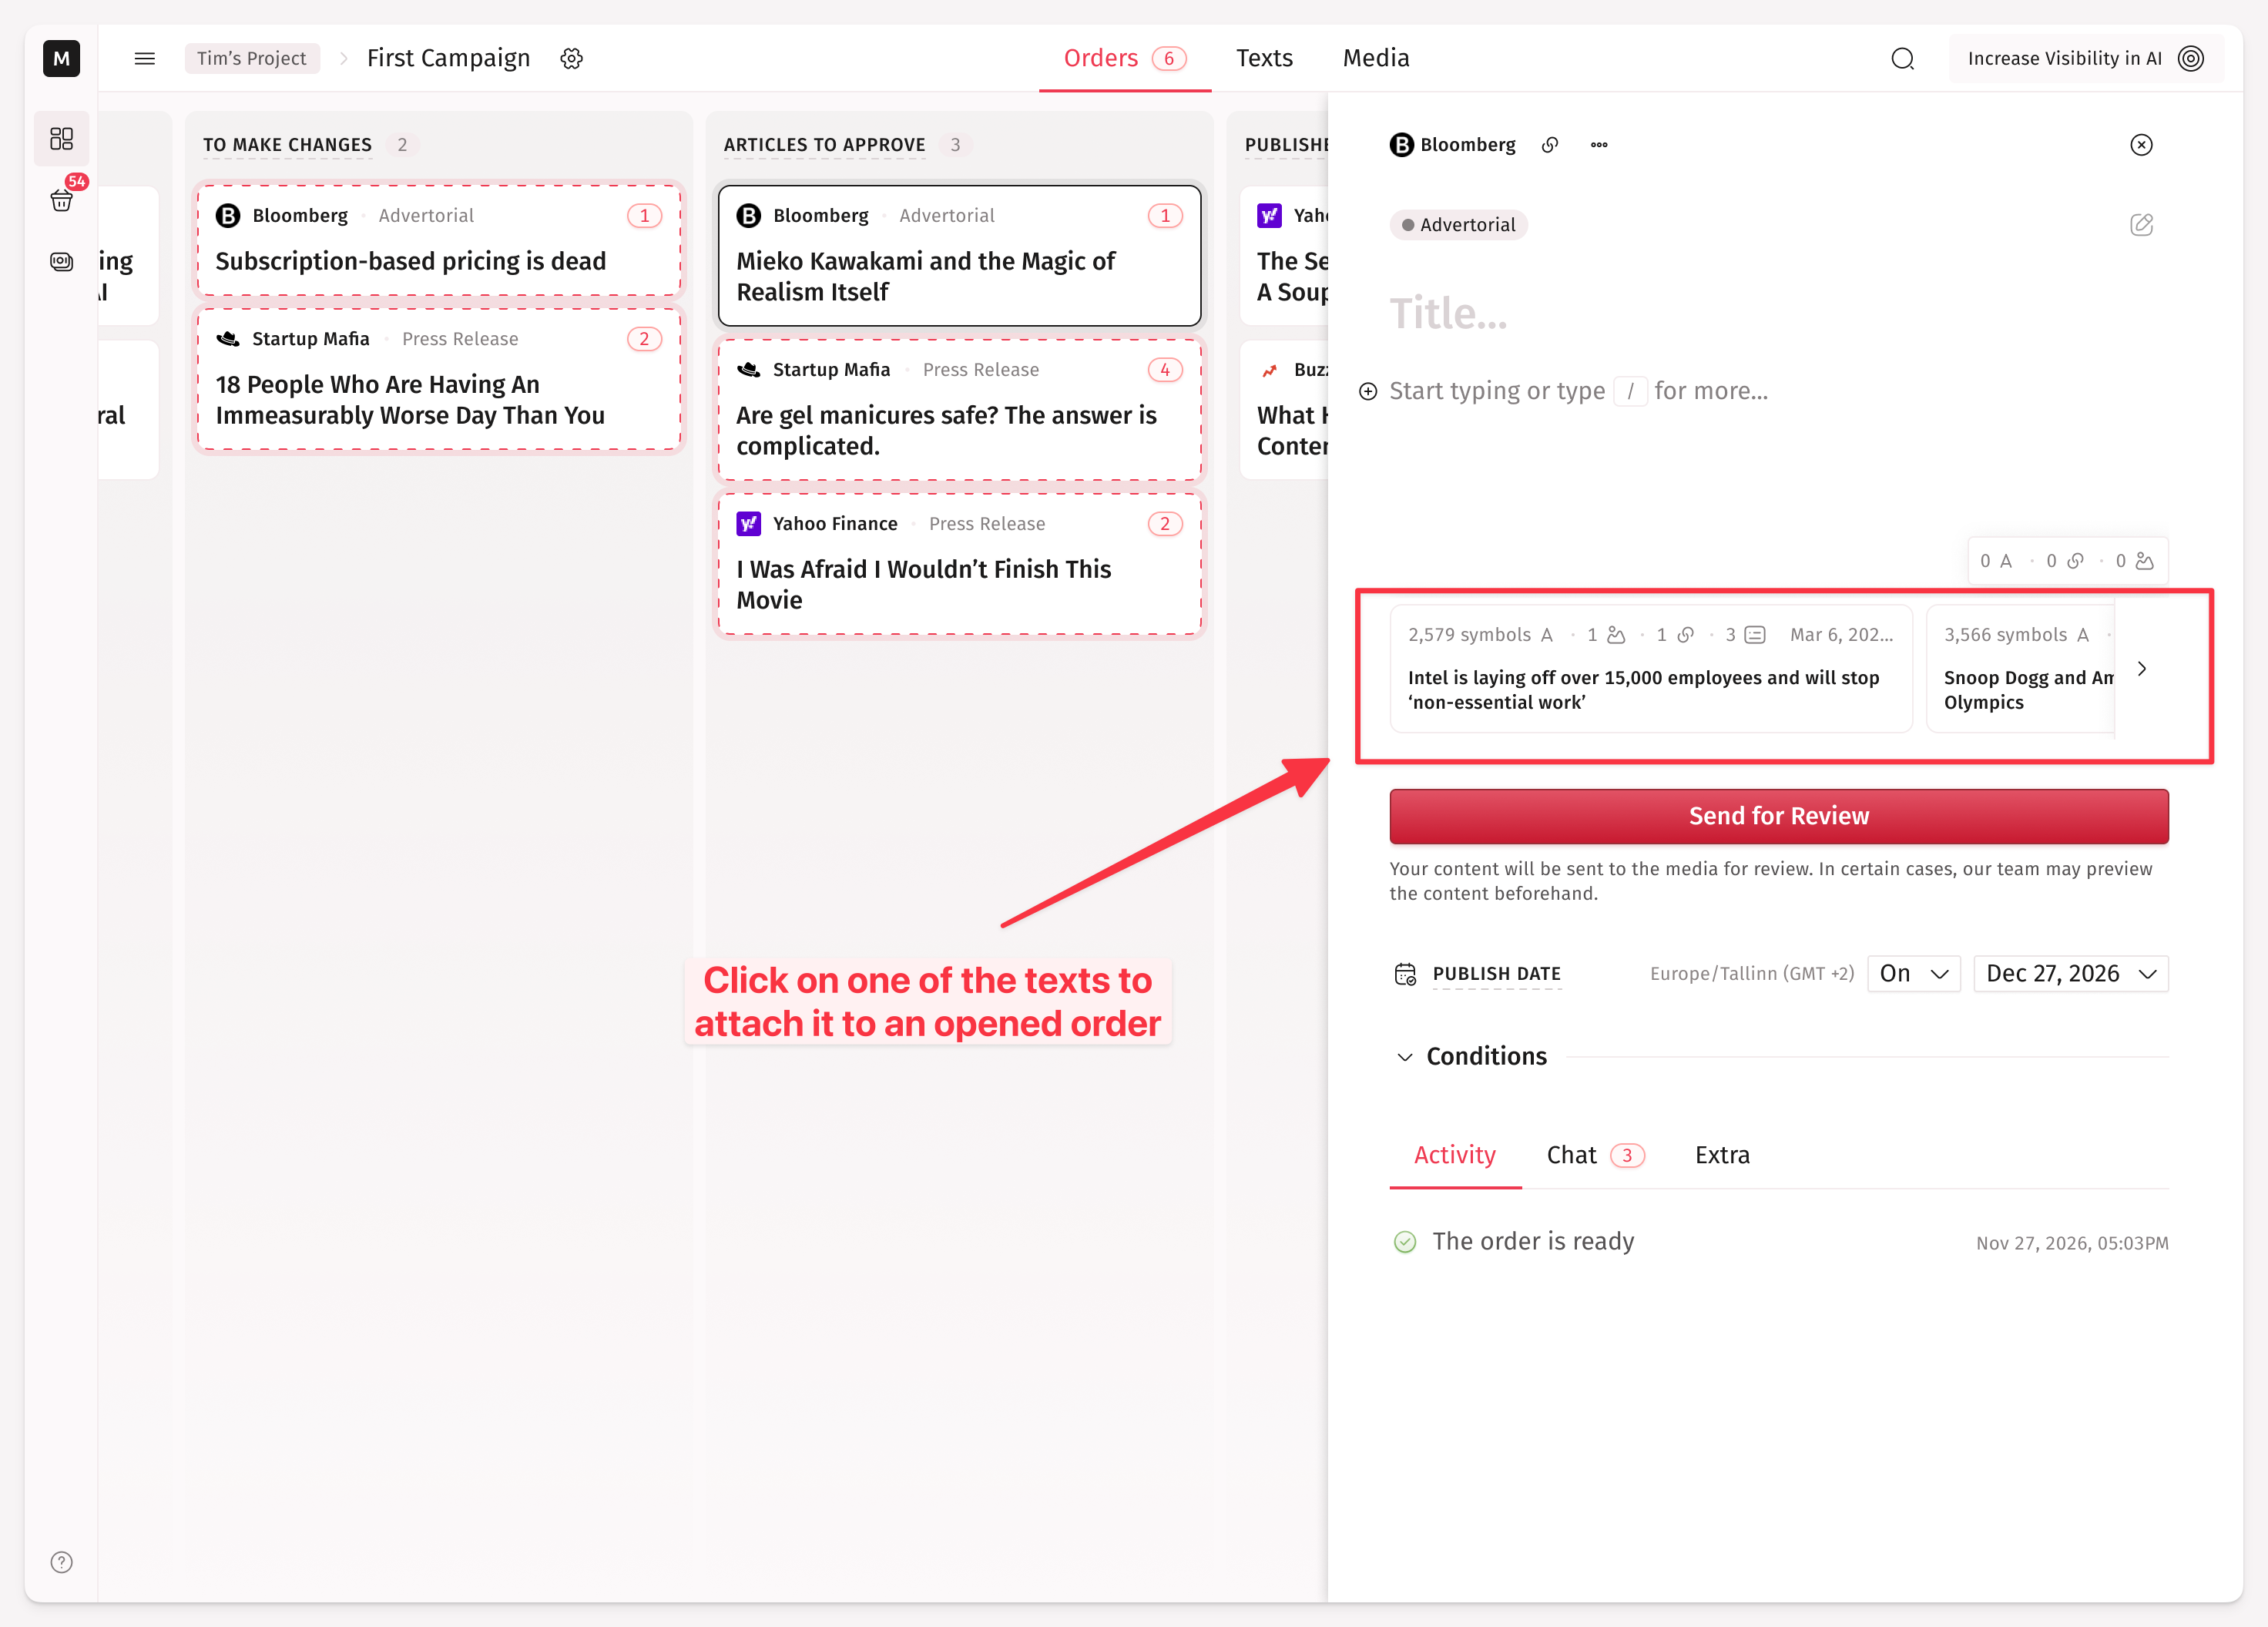
When you open an order in the TO PUBLISH status from the orders tab, a horizontal strip of text cards appears below the editor. These cards show all texts with the READY status in the current campaign.
Each card displays the title, character count, and image/link counts. Simply click a card to immediately attach that text to the order—no confirmation dialog needed. You can scroll through the cards horizontally if there are many.
Important: How Attachment Works
When you attach a text to an order, the content is copied into the order. This means changes you make to the original text afterward won't automatically update the order's content, and edits inside the order won't affect the saved text. You can always re-apply the latest version using the refresh button in the Attach modal. It is done this way because different publishers may have different content guidelines and requirements.
A single text can be attached to multiple orders, making it easy to reuse the same press release or article across different media placements.
What Editors Can Do
Content management introduces a new team role: editor. This role sits between viewer and manager and is designed for content writers, copywriters, and freelancers who need to work on texts without accessing purchasing or order management features.
What editors can do: Create, edit, and delete texts in the texts tab. View campaigns, orders, and the marketplace (read-only). Attach texts to orders.
What editors cannot do: Book placements, manage the cart, send orders for review, cancel orders, invite members, or change campaign settings.
Admins and managers can invite editors to a project from the project members settings, just like inviting any other role.
How to Track What the Team Does with Texts
All content management actions are tracked in the project activity feed. You'll see entries when someone creates a new text, edits a text, deletes a text, or attaches a text to an order. Each activity entry shows who performed the action and when.
How to Access the Text History
Medialister automatically keeps a revision history of your texts for the last 30 days. For order content, revisions are retained for 14 days after the order is published or canceled. This allows you to review what changed and when, giving your team confidence when collaborating on content.
The system saves a new revision every 30 minutes if you haven’t made any edits during that time.
Note: We currently do not offer a feature to view the history and apply previous revisions. However, we plan to introduce it in the future.
Tips for Getting the Most Out of Content Management
Prepare content before booking. Draft and finalize your texts in the texts tab, then browse the marketplace and book placements. When you're ready, attach your prepared content to orders in a few clicks.
Use statuses to coordinate with your team. Writers can draft in IN PROGRESS, move to TO APPROVE when done, and managers or admins can set to READY when it's approved for publication.
Invite Editors for your content writers. If you work with freelancers or a content team, the Editor role gives them exactly the access they need without exposing financial or order management features.
Reuse content across placements. A single text can be attached to multiple orders—great when you're distributing the same press release to several media outlets.
Watch your counters. Each media placement has different conditions for content length, links, and images. The real-time counters in the editor help you stay within limits before you send an order for review.